
How to Properly Install Lights on Pillars
Installing lights on pillars can significantly enhance the aesthetics of your property, especially during festive seasons. Proper planning and execution are crucial to ensure a successful installation. This guide will walk you through the essential steps and considerations for installing lights on pillars effectively.
Table of Contents
- Understanding Power Sources
- Planning Your Installation
- Installation Steps
- Safety Considerations
- Maintenance of Lights on Pillars
- Conclusion
- FAQ
Understanding Power Sources
One of the first decisions you'll need to make is determining the source of power for your lights. This decision directly impacts your installation process.
Top vs. Bottom Power Supply
When installing lights on pillars, consider whether you will run the power from the top of the pillar or from the bottom. This choice depends largely on the location of existing power sources in your home.
- Top Power Supply: If your lights are connected to roof lights or overhead outlets, start your installation from the top. This method is often used when no outlets are available at the base of the pillars.
- Bottom Power Supply: If there are outlets on the front porch or nearby, running power from the bottom can be more straightforward. This approach allows for easier access to power without needing to climb or reach overhead.
Planning Your Installation
Before you begin the installation, it’s essential to plan thoroughly. This involves understanding your workspace, gathering necessary tools, and ensuring you have all the materials required.
Assessing the Site
Take a good look at the area where you will be installing the lights. Identify the nearest power source and evaluate the distance to each pillar. This assessment will help you determine how much wiring you’ll need.
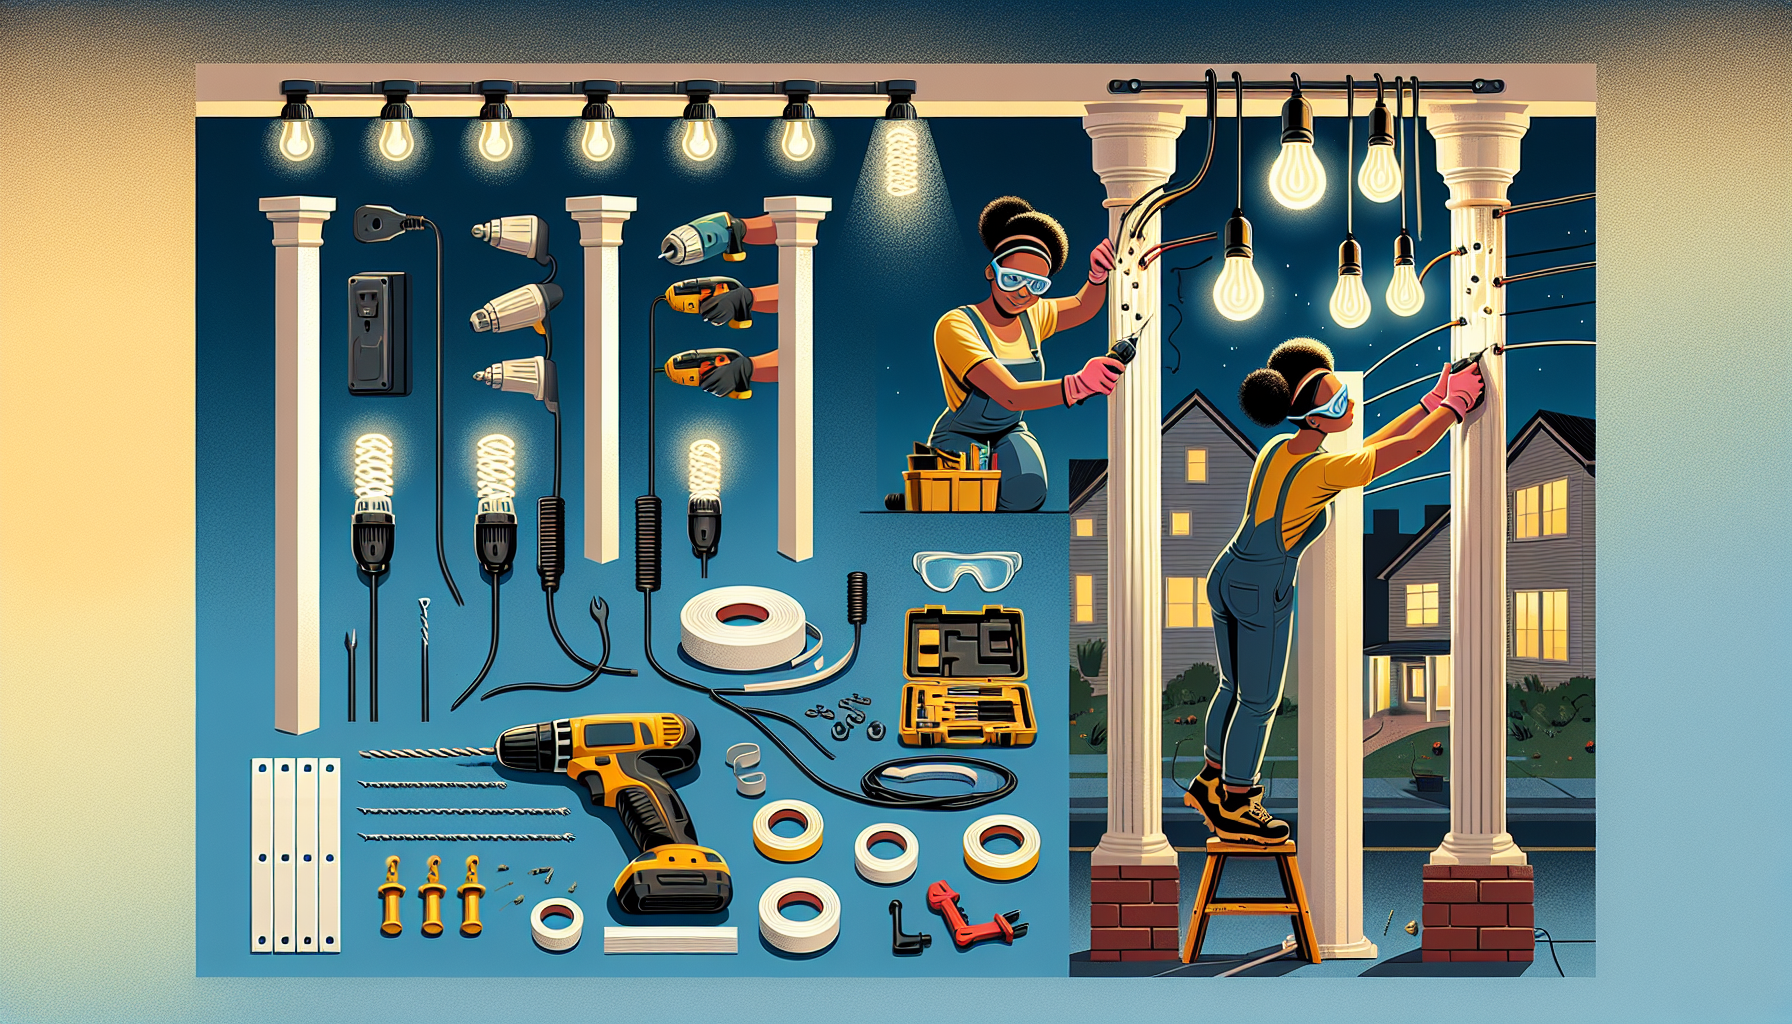
Gathering Tools and Materials
Here’s a list of basic tools and materials you may need:
- Lights suitable for outdoor use
- Extension cords (if necessary)
- Electrical tape
- Wire connectors
- Drill with appropriate bits
- Mounting brackets or clips
- Safety goggles and gloves
Installation Steps
Now that you have your plan and tools ready, it’s time to install the lights. Follow these steps for a successful installation.
Step 1: Set Up Power Connection
Identify where the power will originate. If you are pulling power from the roof, ensure that you securely connect the male plug to the power source. This is crucial as it dictates the flow of electricity to your lights.
Step 2: Run the Wiring
Depending on your power source, run the wiring down to each pillar. If you are running from the top, carefully route the wire down the pillar, ensuring it's secured and not hanging loosely.
Step 3: Attach the Lights
Once the wiring is in place, you can begin attaching the lights. Use mounting brackets or clips to secure the lights in an aesthetically pleasing manner. Ensure that the lights are evenly spaced and aligned for a professional look.
Step 4: Test the Connection
Before finalizing everything, plug in your lights to test the connection. This step is vital to ensure that all lights are functioning correctly. If any lights do not work, check your connections and wiring.
Step 5: Secure Everything
After confirming that all lights are operational, secure all wiring with electrical tape and ensure that there are no exposed wires. This step is essential for safety and longevity.
Safety Considerations
Safety should always be a priority when dealing with electrical installations. Here are some important safety tips to keep in mind:
- Always use lights rated for outdoor use to prevent electrical hazards.
- Ensure all connections are watertight to avoid short circuits.
- Wear protective gear when using power tools.
- Consider hiring a professional if you are unsure about handling electrical installations.
Maintenance of Lights on Pillars
After installation, regular maintenance will help keep your lights functioning optimally and looking great. Here are some maintenance tips:
Regular Inspections
Periodically check the lights and wiring for any signs of wear or damage. Look for frayed wires or burnt-out bulbs that may need replacement.
Cleaning
Keep the lights clean by wiping them down with a damp cloth. This will help maintain their brightness and longevity. Avoid using harsh chemicals that could damage the fixtures.
Conclusion
Installing lights on pillars can transform your outdoor space and create an inviting atmosphere. By carefully planning your installation, ensuring safety, and performing regular maintenance, you can enjoy beautifully lit pillars for years to come. Remember, the key to a successful installation is in the details—don’t rush the process and take your time to do it right.
FAQ
What type of lights are best for outdoor pillar installation?
LED lights are often the best choice for outdoor installations due to their energy efficiency and durability. They come in various styles and can withstand harsh weather conditions.
Can I install the lights myself, or should I hire a professional?
If you are comfortable with basic electrical work and have the right tools, you can install the lights yourself. However, hiring a professional is recommended if you are unsure or if the installation involves complex electrical work.
How do I know if my lights are weatherproof?
Check the packaging or specifications of your lights. Look for an IP rating; an IP65 rating or higher indicates that the lights are weatherproof and suitable for outdoor use.
What should I do if my lights stop working?
First, check the power source and connections. If everything appears to be in order, inspect the bulbs and wiring for any damage. If you cannot identify the issue, consider consulting a professional electrician.
How often should I perform maintenance on my outdoor lights?
It's advisable to inspect your outdoor lights at least once a season, especially before major holidays or events. This ensures they remain in good working condition and look their best.